 | I just love these sewing patterns! They have a pretty vintage look and you just can't find this tan color anywhere else. I found this idea on Pinterest but they didn't have a tutorial so I decided to put my own little spin on it. Here is how you make this beautiful wall art. |
Supplies:
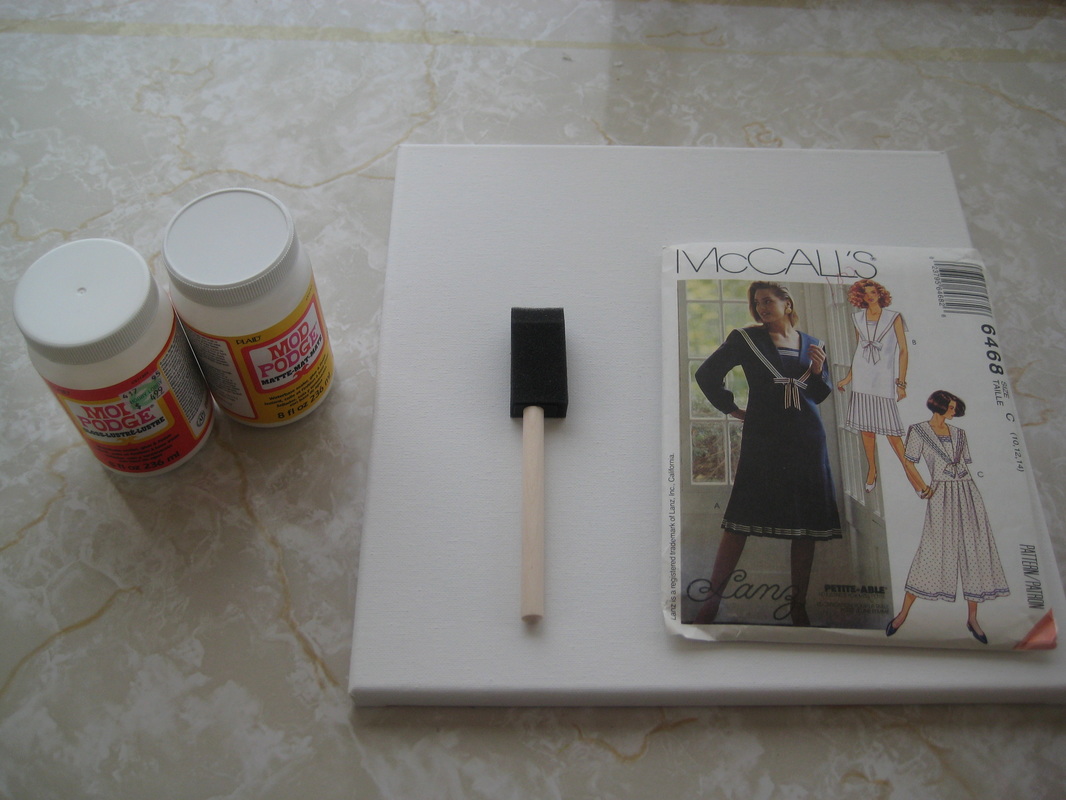
Sewing Patterns: You can buy these at some thrift stores.
Mod Podge: Matte finish and High gloss
Sponge Brush
Canvas
Patterned paper
Cardstock
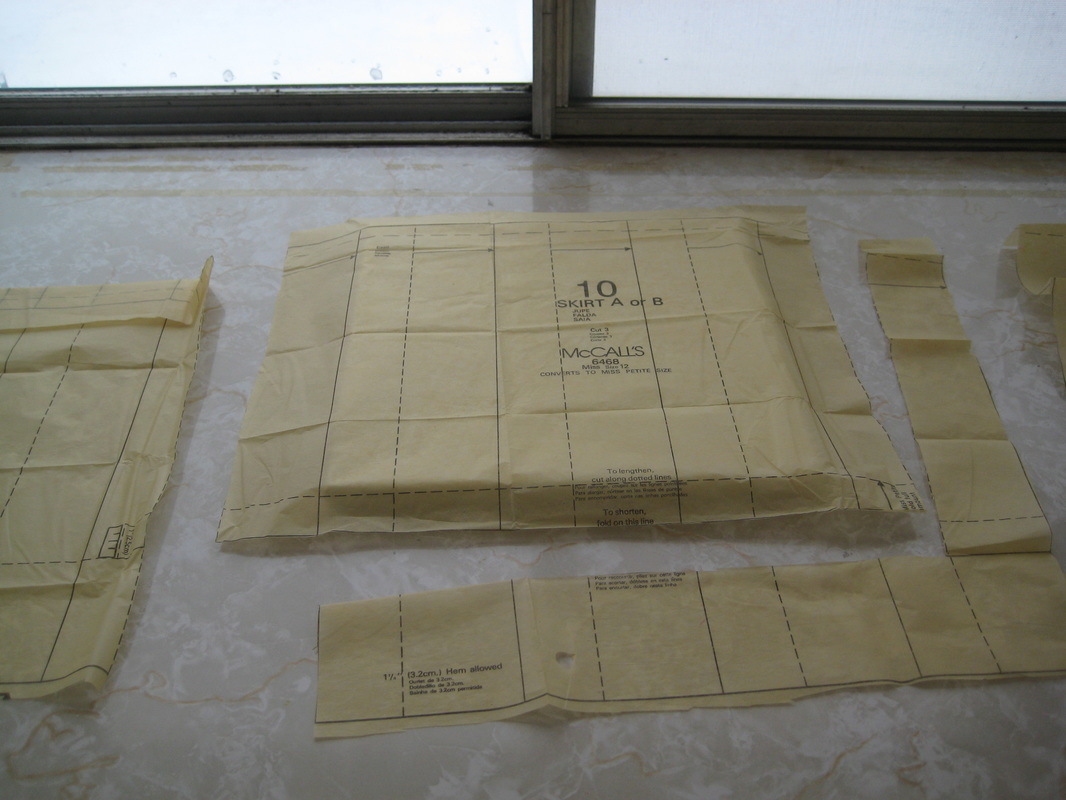
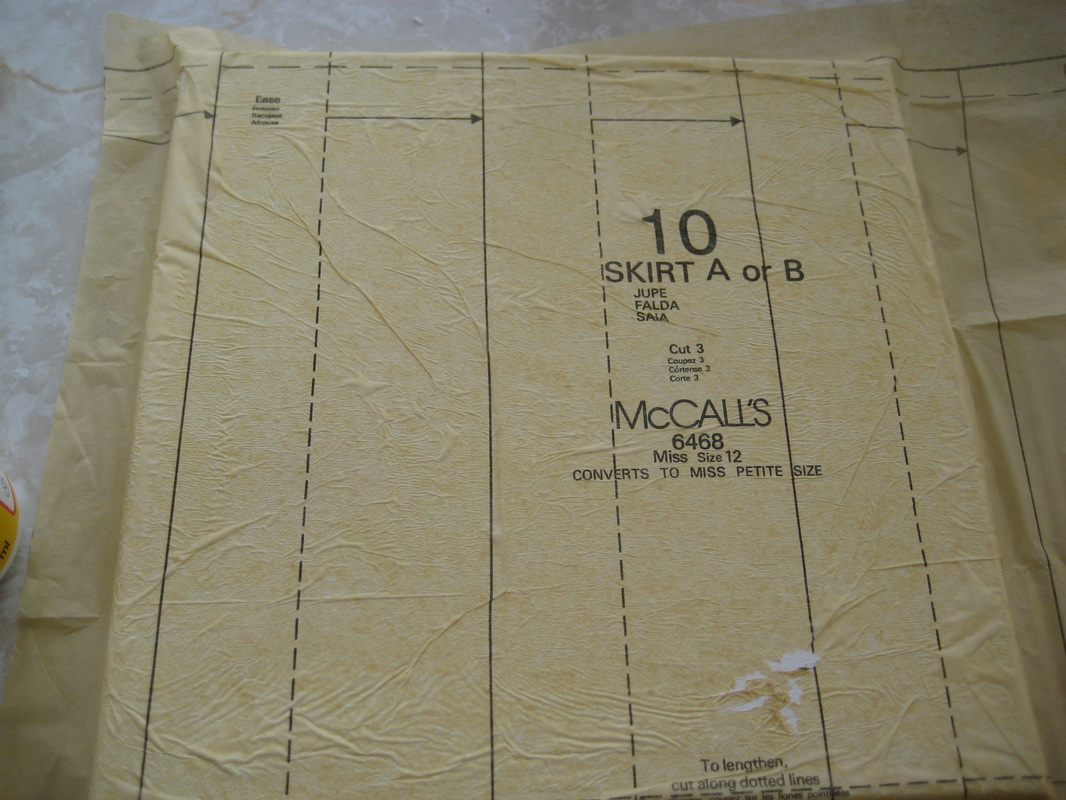
First, cut the sewing pattern in the shape of the canvas. You want to leave some extra because you want to mod podge the sides. I wanted the words to be somewhat close to the center, so I positioned it carefully.
Sewing Patterns: You can buy these at some thrift stores.
Mod Podge: Matte finish and High gloss
Sponge Brush
Canvas
Patterned paper
Cardstock
First, cut the sewing pattern in the shape of the canvas. You want to leave some extra because you want to mod podge the sides. I wanted the words to be somewhat close to the center, so I positioned it carefully.
Next, spread the mod podge on the canvas. Make sure the layer is thick so it the pattern adheres quickly.
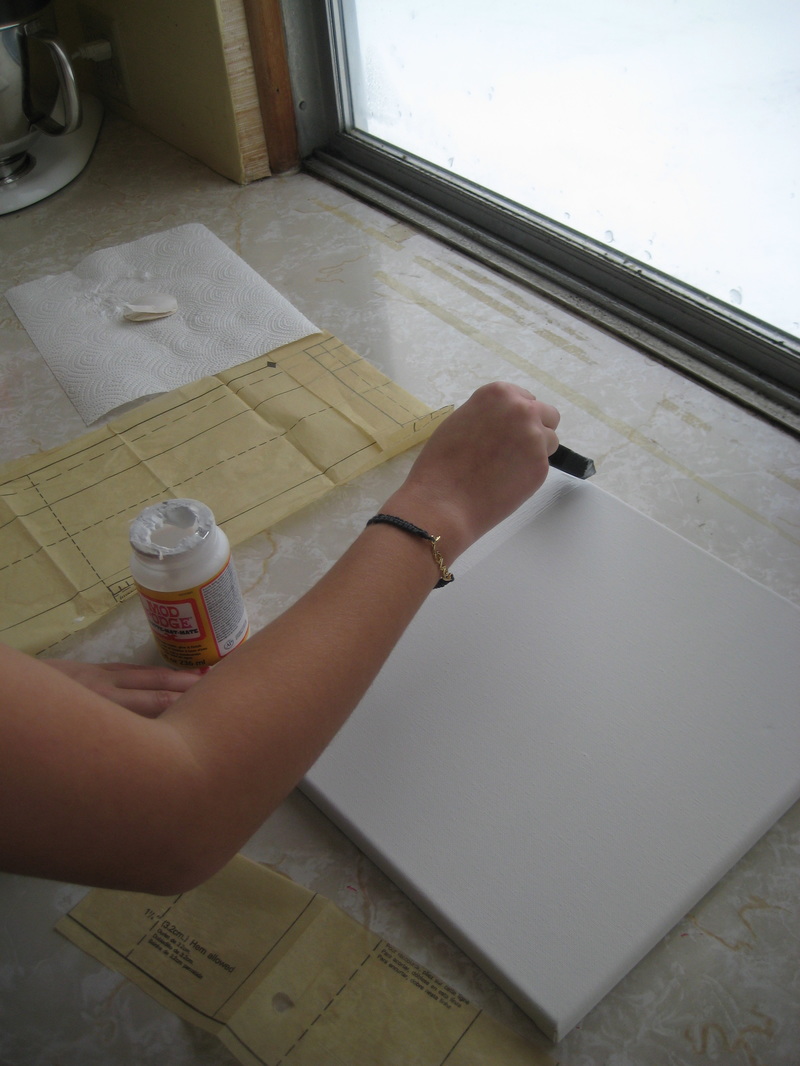
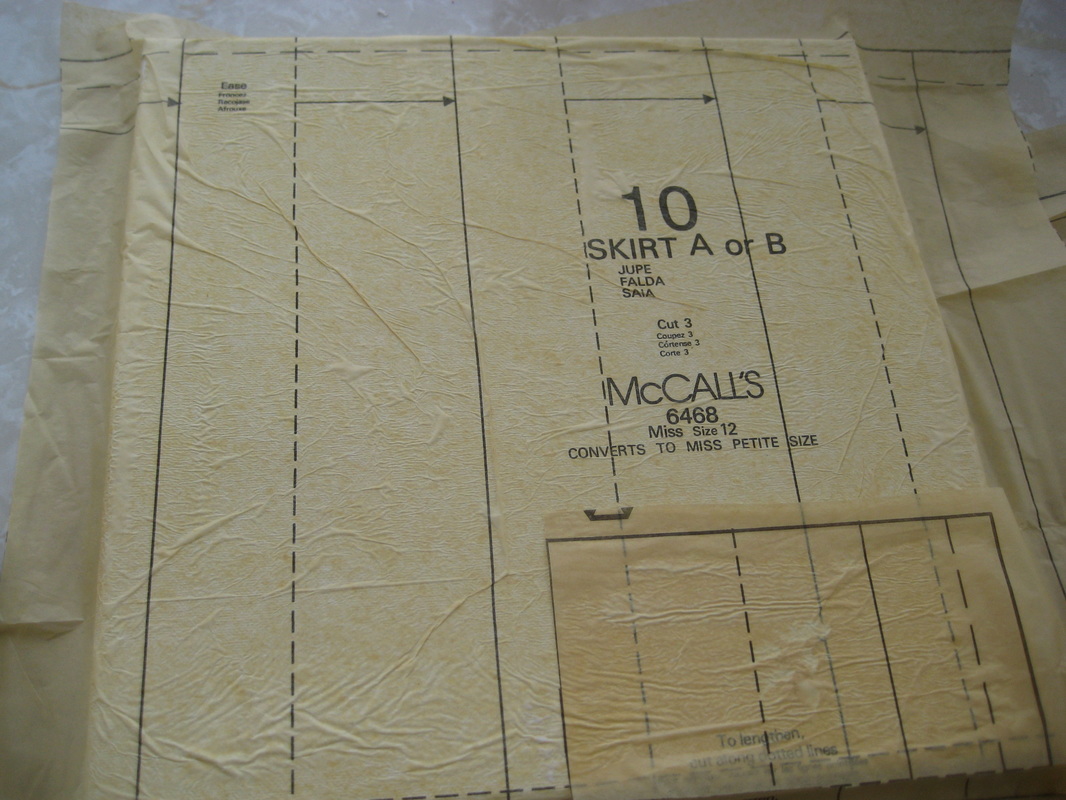
Next is the tricky part. Lay tissue paper on the mod podged canvas carefully, trying to avoid wrinkles and bubbles. Don't worry if there are a few wrinkles or bubbles, because you can cover those up later with more layers.
You'll notice I ripped the paper a little, but I will cover it up with the next layers. You can see the progression below..:)
 | 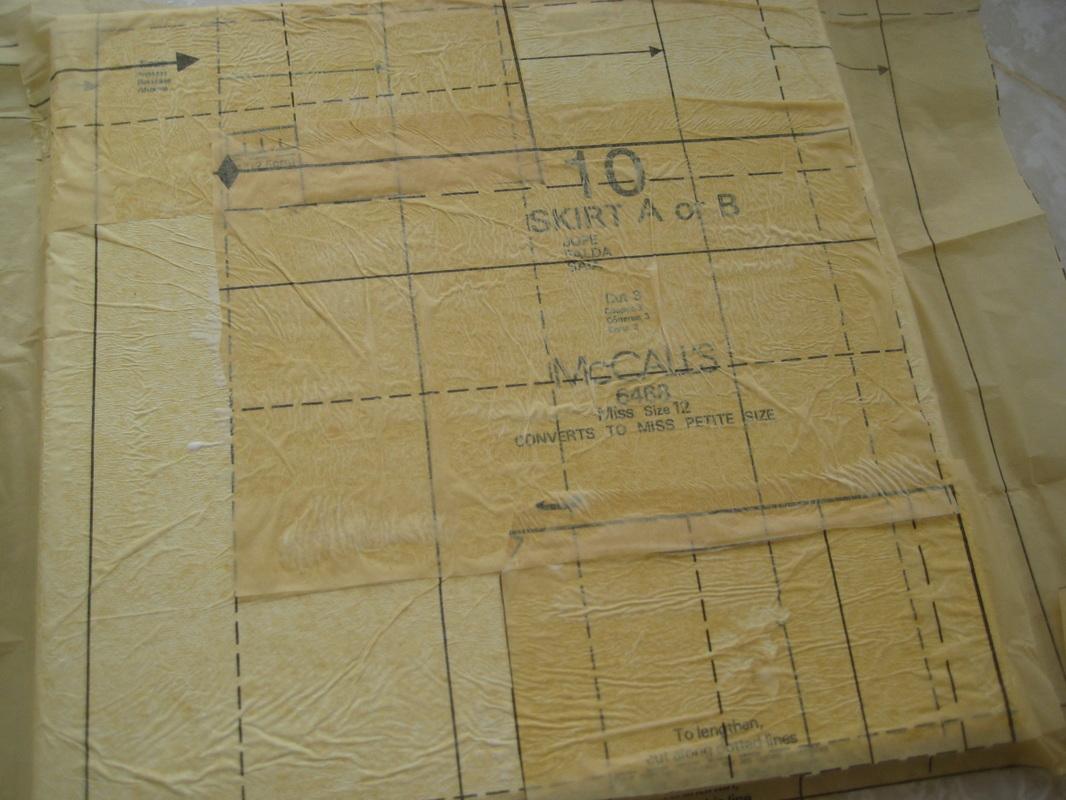 |
Finally, you coat the final product with the high gloss mod podge. This will give it a nice sheen and may smooth out some wrinkles. Well I was so into my project that I forgot to take a picture of the final product with the coat, so you will have to imagine what it looks like. :)
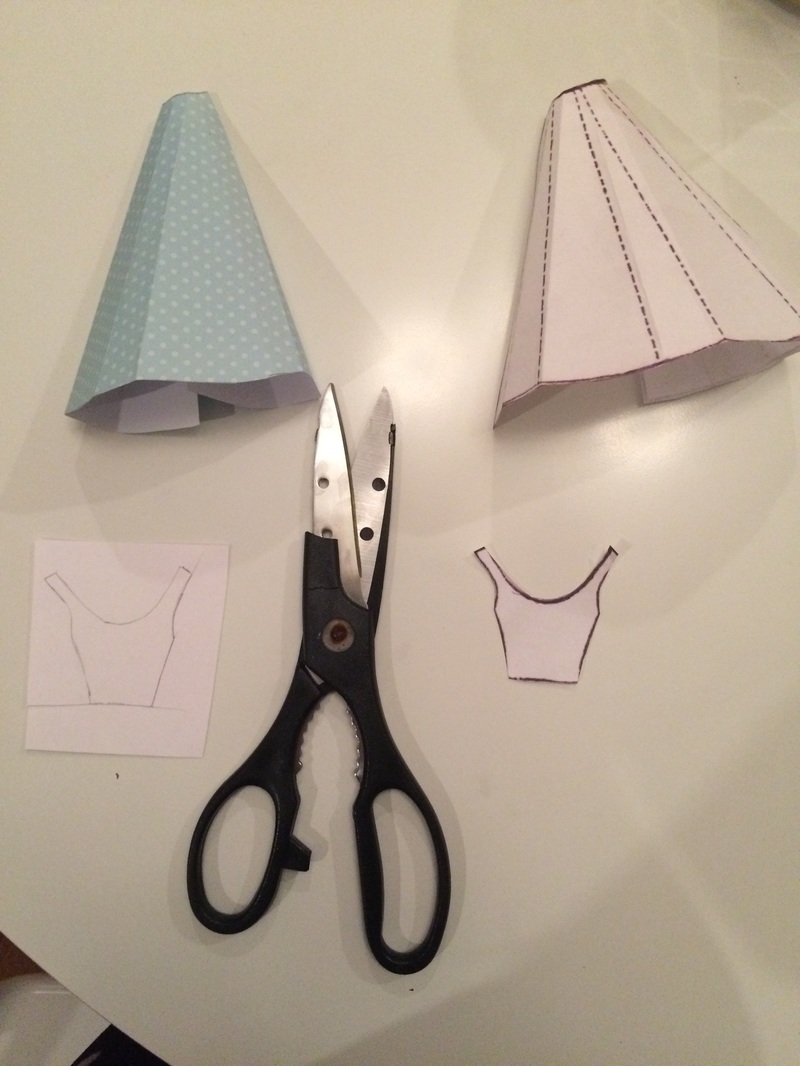
Next, I found a template for a 3D dress on Pinterest. Here is the template:
Next, I found a template for a 3D dress on Pinterest. Here is the template:
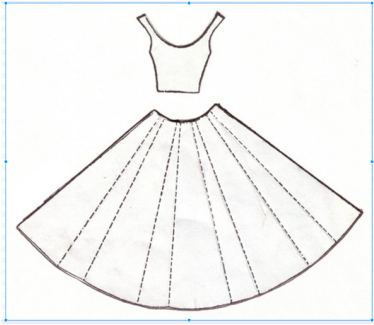
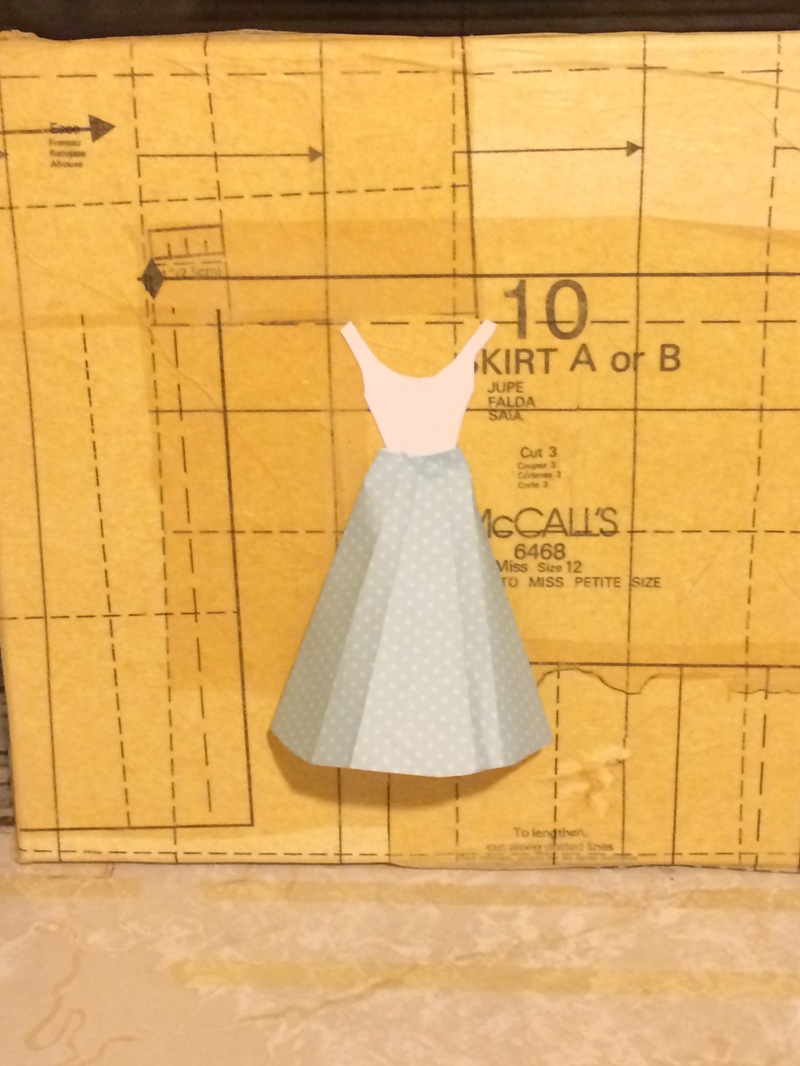
I traced the paper and then I cut the paper to align with the pattern and folded on the dotted lines.
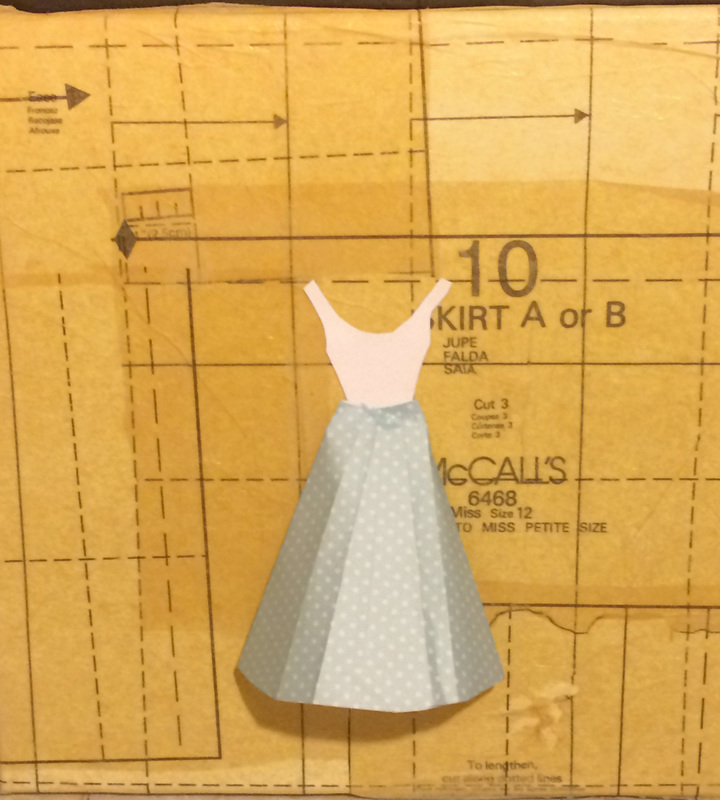
Finally, I glued the final product to the canvas to create this beautiful piece of artwork. The long days, (or maybe just hours) spent on this project paid off! I am going to put this is one of my blank frames on my wall. See my post about that later. Comment if you have any questions or if something worked better for you!
 RSS Feed
