 |  |
I love to read! It is probably my favorite activity...(besides crafting!) So when I saw this banner on The Thinking Closet, I was so excited to try it! But then my face fell, (crying emoji here) and I realized they were using one of those fancy schmancy (excuse my use of made up words) Silhouette machines to cut out the words. So I decided to make my own, but cheaper!(about $300 cheaper because I didn't need the Silhouette!) Here are the supplies you will need:
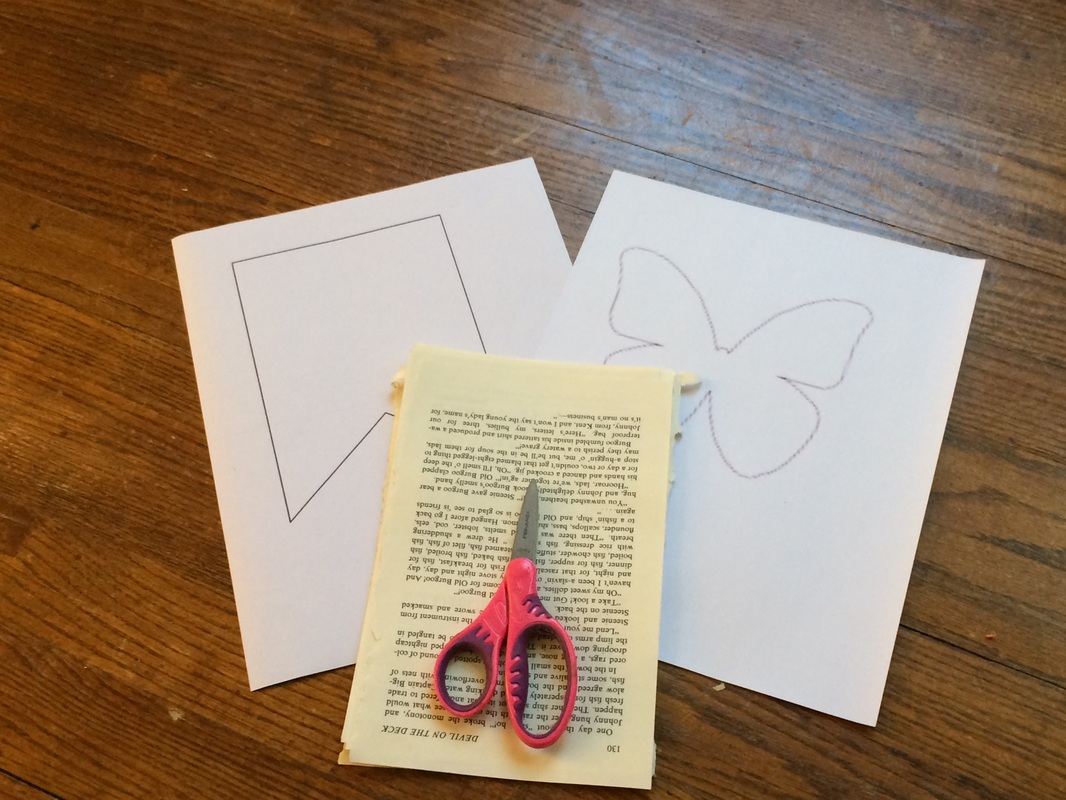
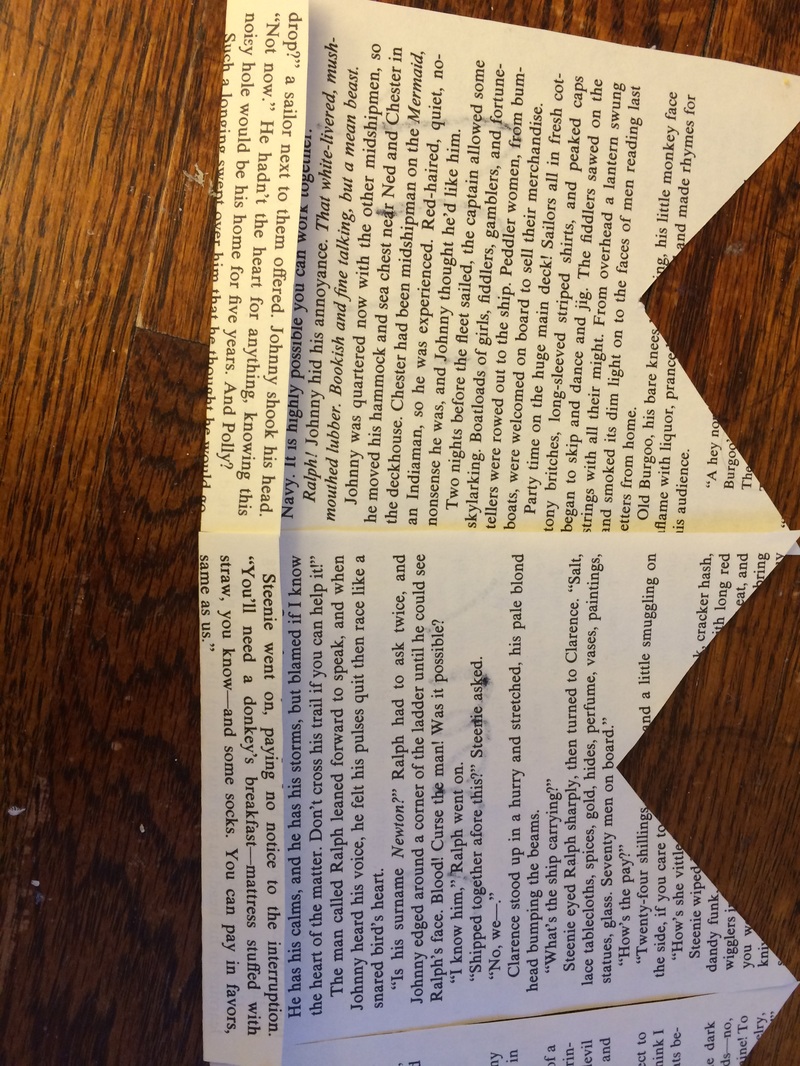
Book (an old book will work better to give you that "antique" look)
Scissors, (to get straighter edges, you could use a Sure Cut Paper Trimmer from Fiskars, but I just did it the old fashioned way ;)
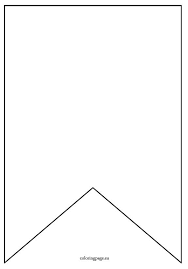
Banner Template
String
Pencil
Marker (I used a calligraphy pen, but you can use a marker)
By the way, ignore the butterfly template...I am using that for something else in a later post so make sure to check up on that soon!
Scissors, (to get straighter edges, you could use a Sure Cut Paper Trimmer from Fiskars, but I just did it the old fashioned way ;)
Banner Template
String
Pencil
Marker (I used a calligraphy pen, but you can use a marker)
By the way, ignore the butterfly template...I am using that for something else in a later post so make sure to check up on that soon!
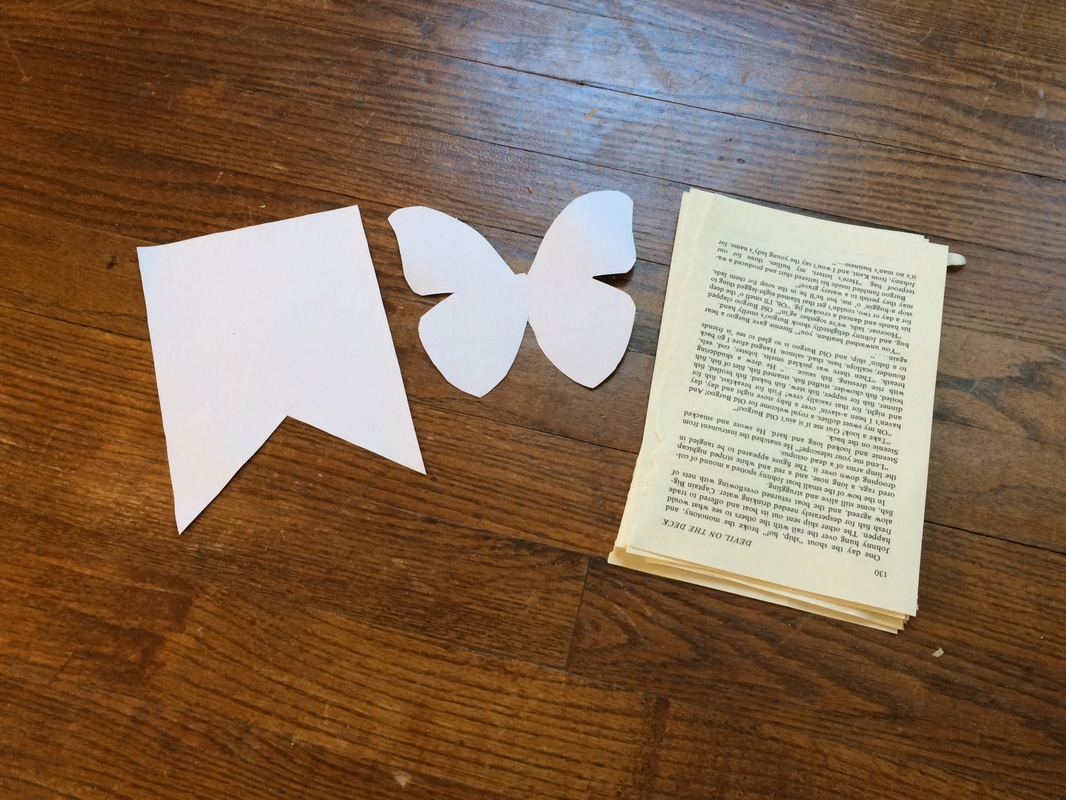
First, I cut out the banner template.

I attached the template onto the page with a clothespin, (you like how fancy it is?) You could easily use a paper clip or something like that! Then I cut out around the template. Now, you need to figure out how many words your quote is. Mine had 12 words, so I cut out 12 of these. Here are some quotes about books/reading that I liked.
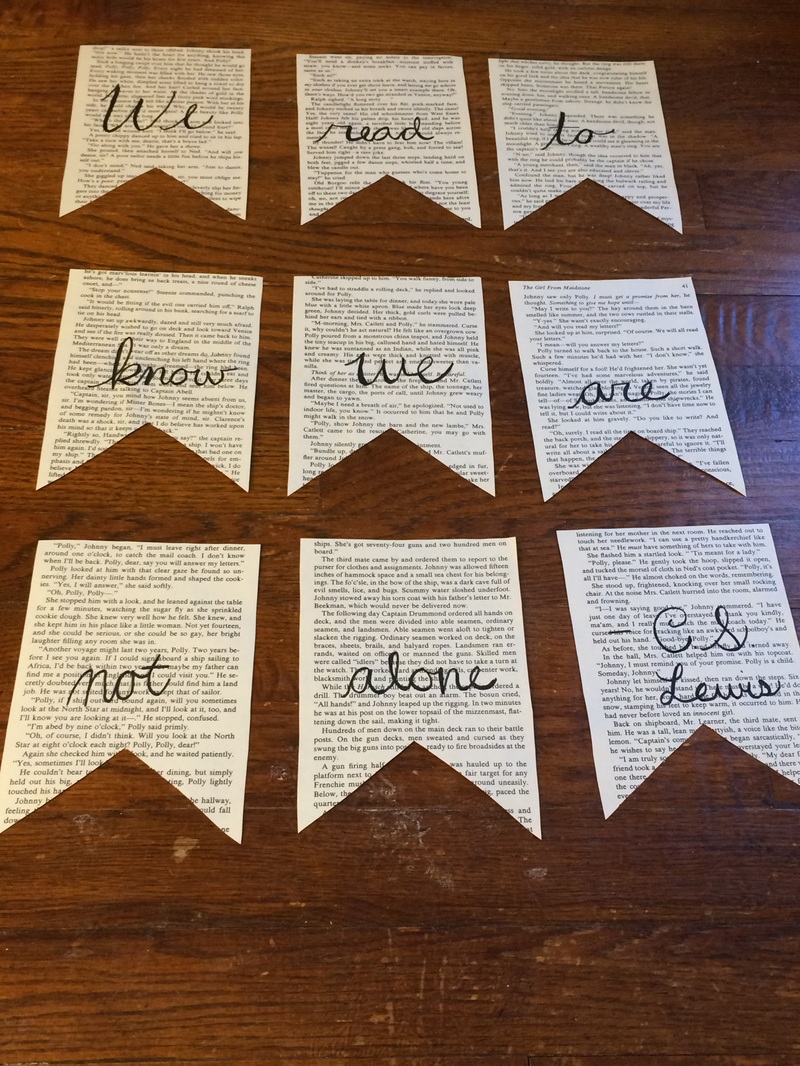
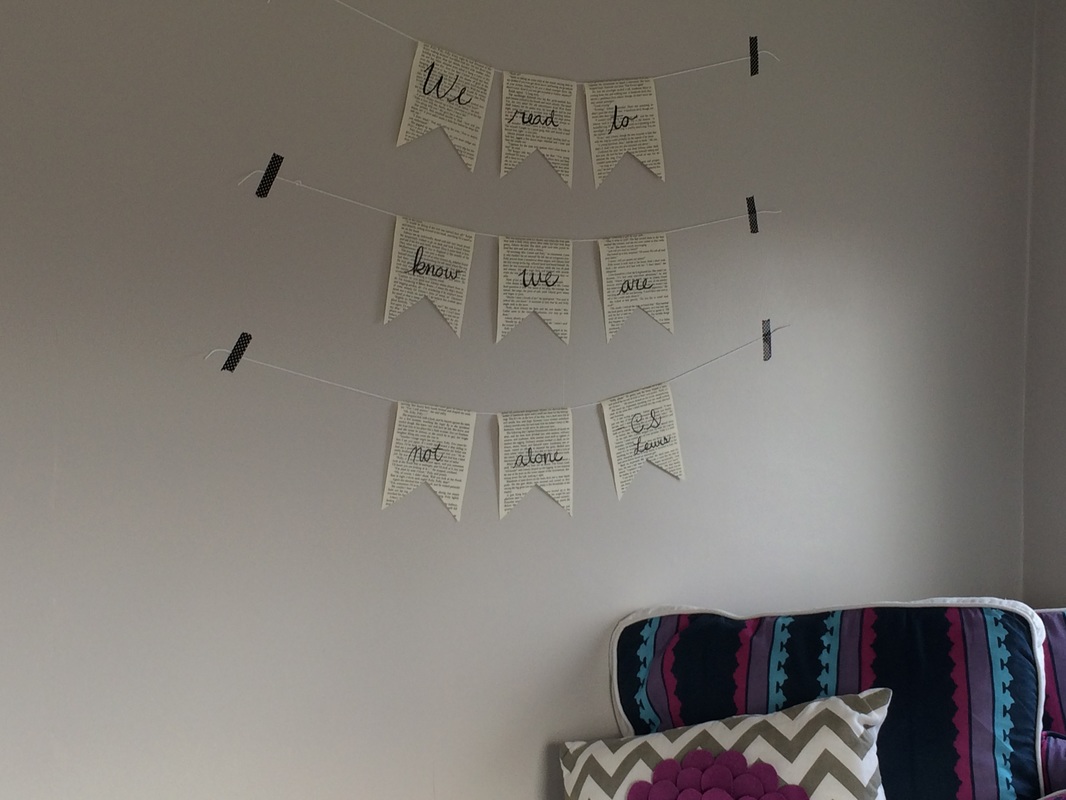
Second, I used a calligraphy pen to write the words for my quote. You could also use a sharpie or a thin tip marker. My mom has amazing calligraphy. Her tip was to make the lines going down darker. I tried to do that but it didn't turn out as great as hers...
Next, I used tape to make a little flap to pull the string through on each banner piece. This will be helpful for the next step.
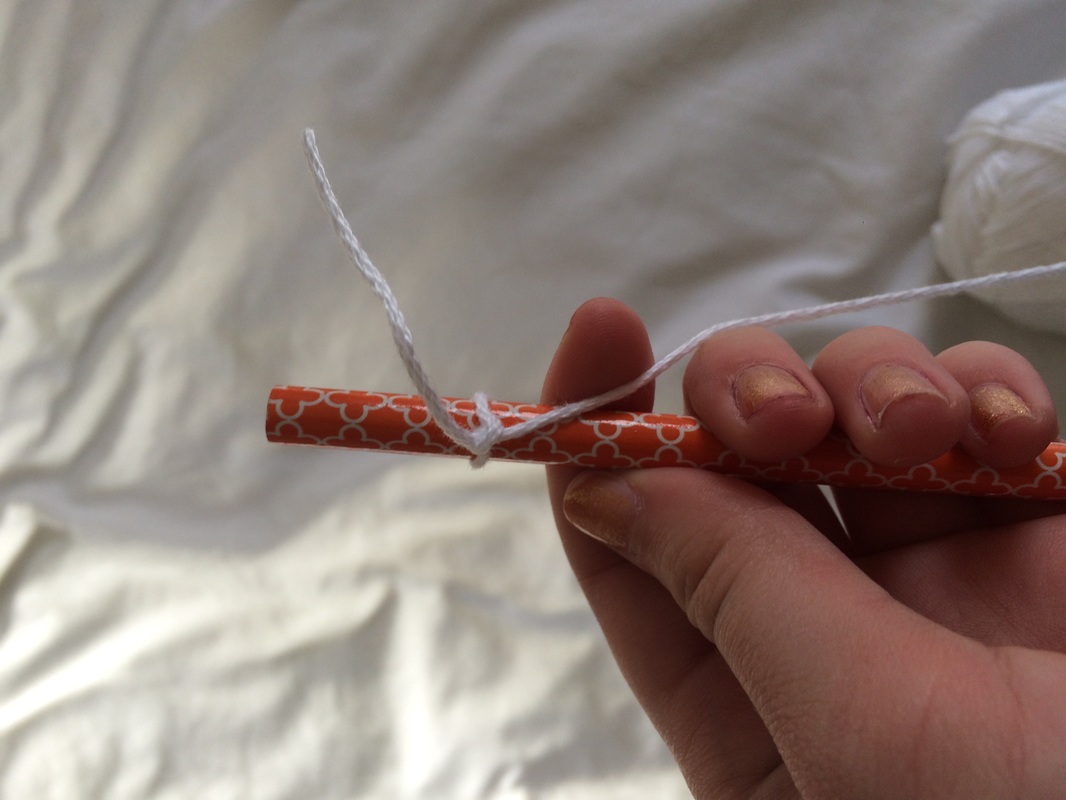
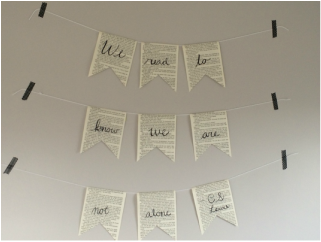
Finally, I was ready to string the banner and put it up. This truthfully was the hardest step. I tied my string tightly around a pencil and slid the pencil through the flap you taped earlier. This may take a few tries, but eventually you can slide it all the way through. I used three separate pieces of string measuring about 2' each and put three banner pieces on each string. But you could also use one long string. And then you are done! Now you have a beautiful banner to decorate a room in your house!
 RSS Feed
